Add Printer via IP Scan (Draft)
When to use IP Scan
Use IP Scan when you already know the printer's IP address but Network Scan does not detect it. IP Scan probes a single host across the full set of printer-control ports and identifies firmware from the responses. It is also the fastest way to add a printer when you have only one to add.
Step 1. Open the IP Scan tab
IP Scan Tab
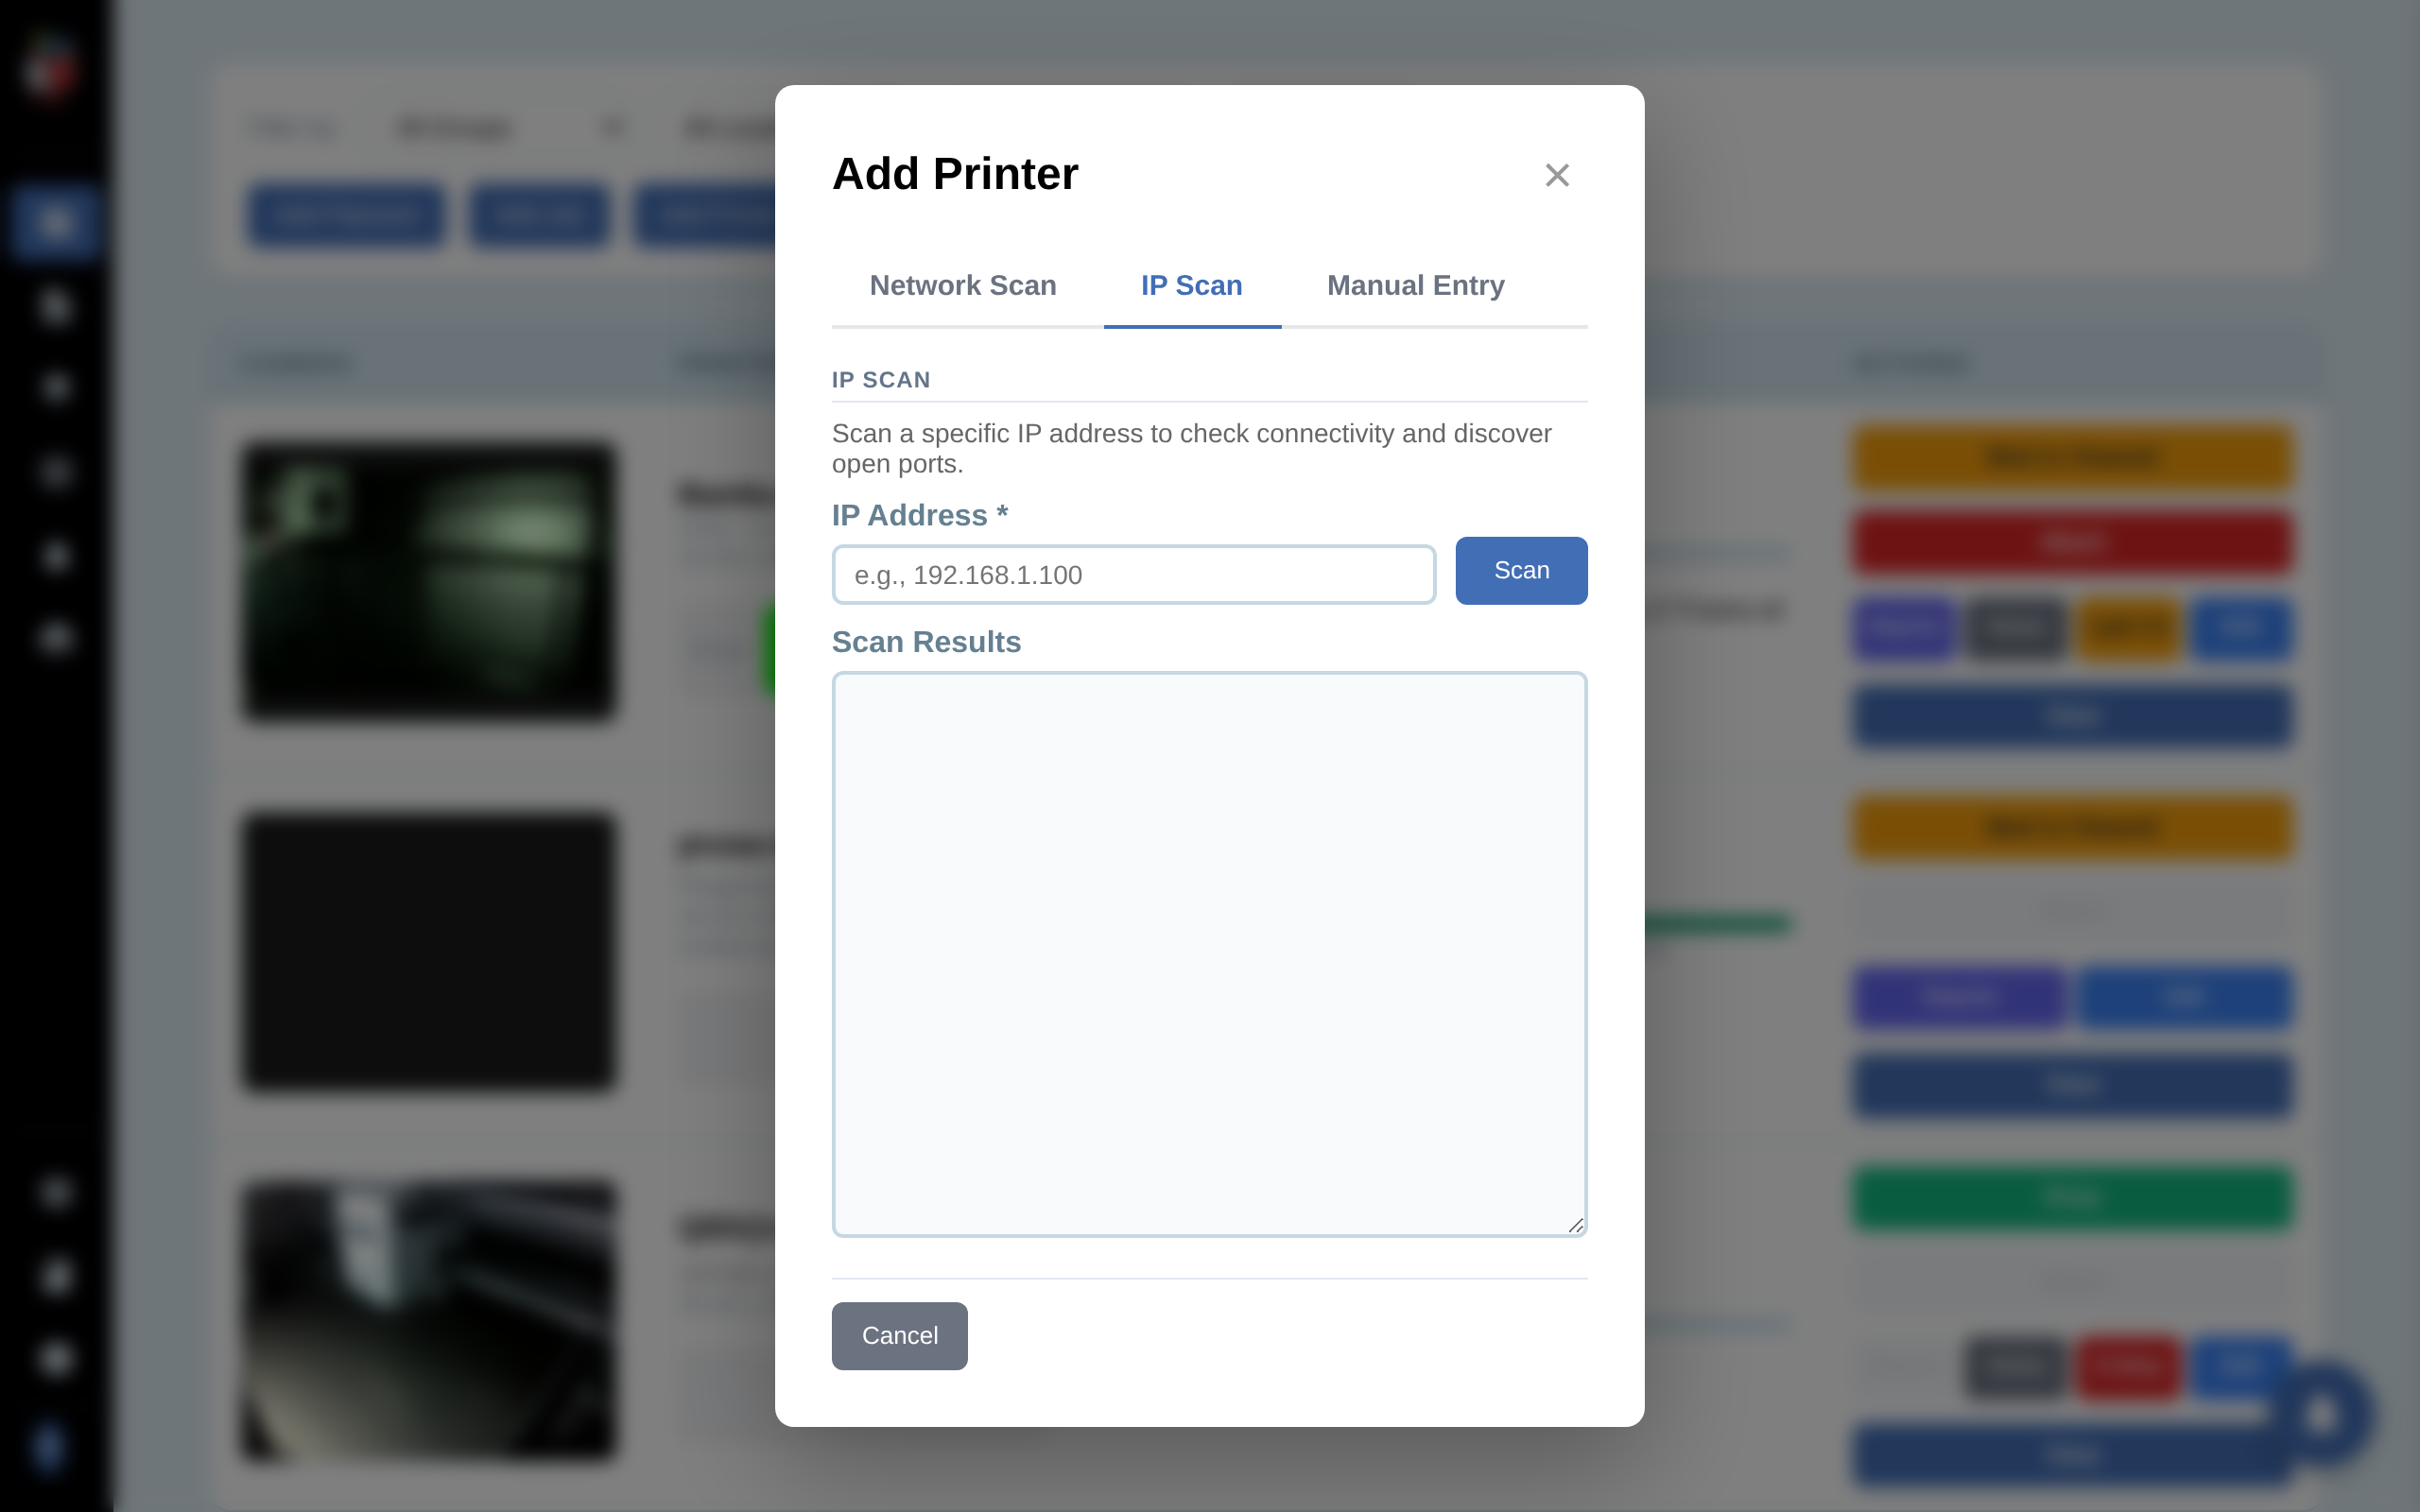
On the dashboard, click Add Printer. In the dialog, click the IP Scan tab.
Step 2. Enter the IP and click Load
Load Probe
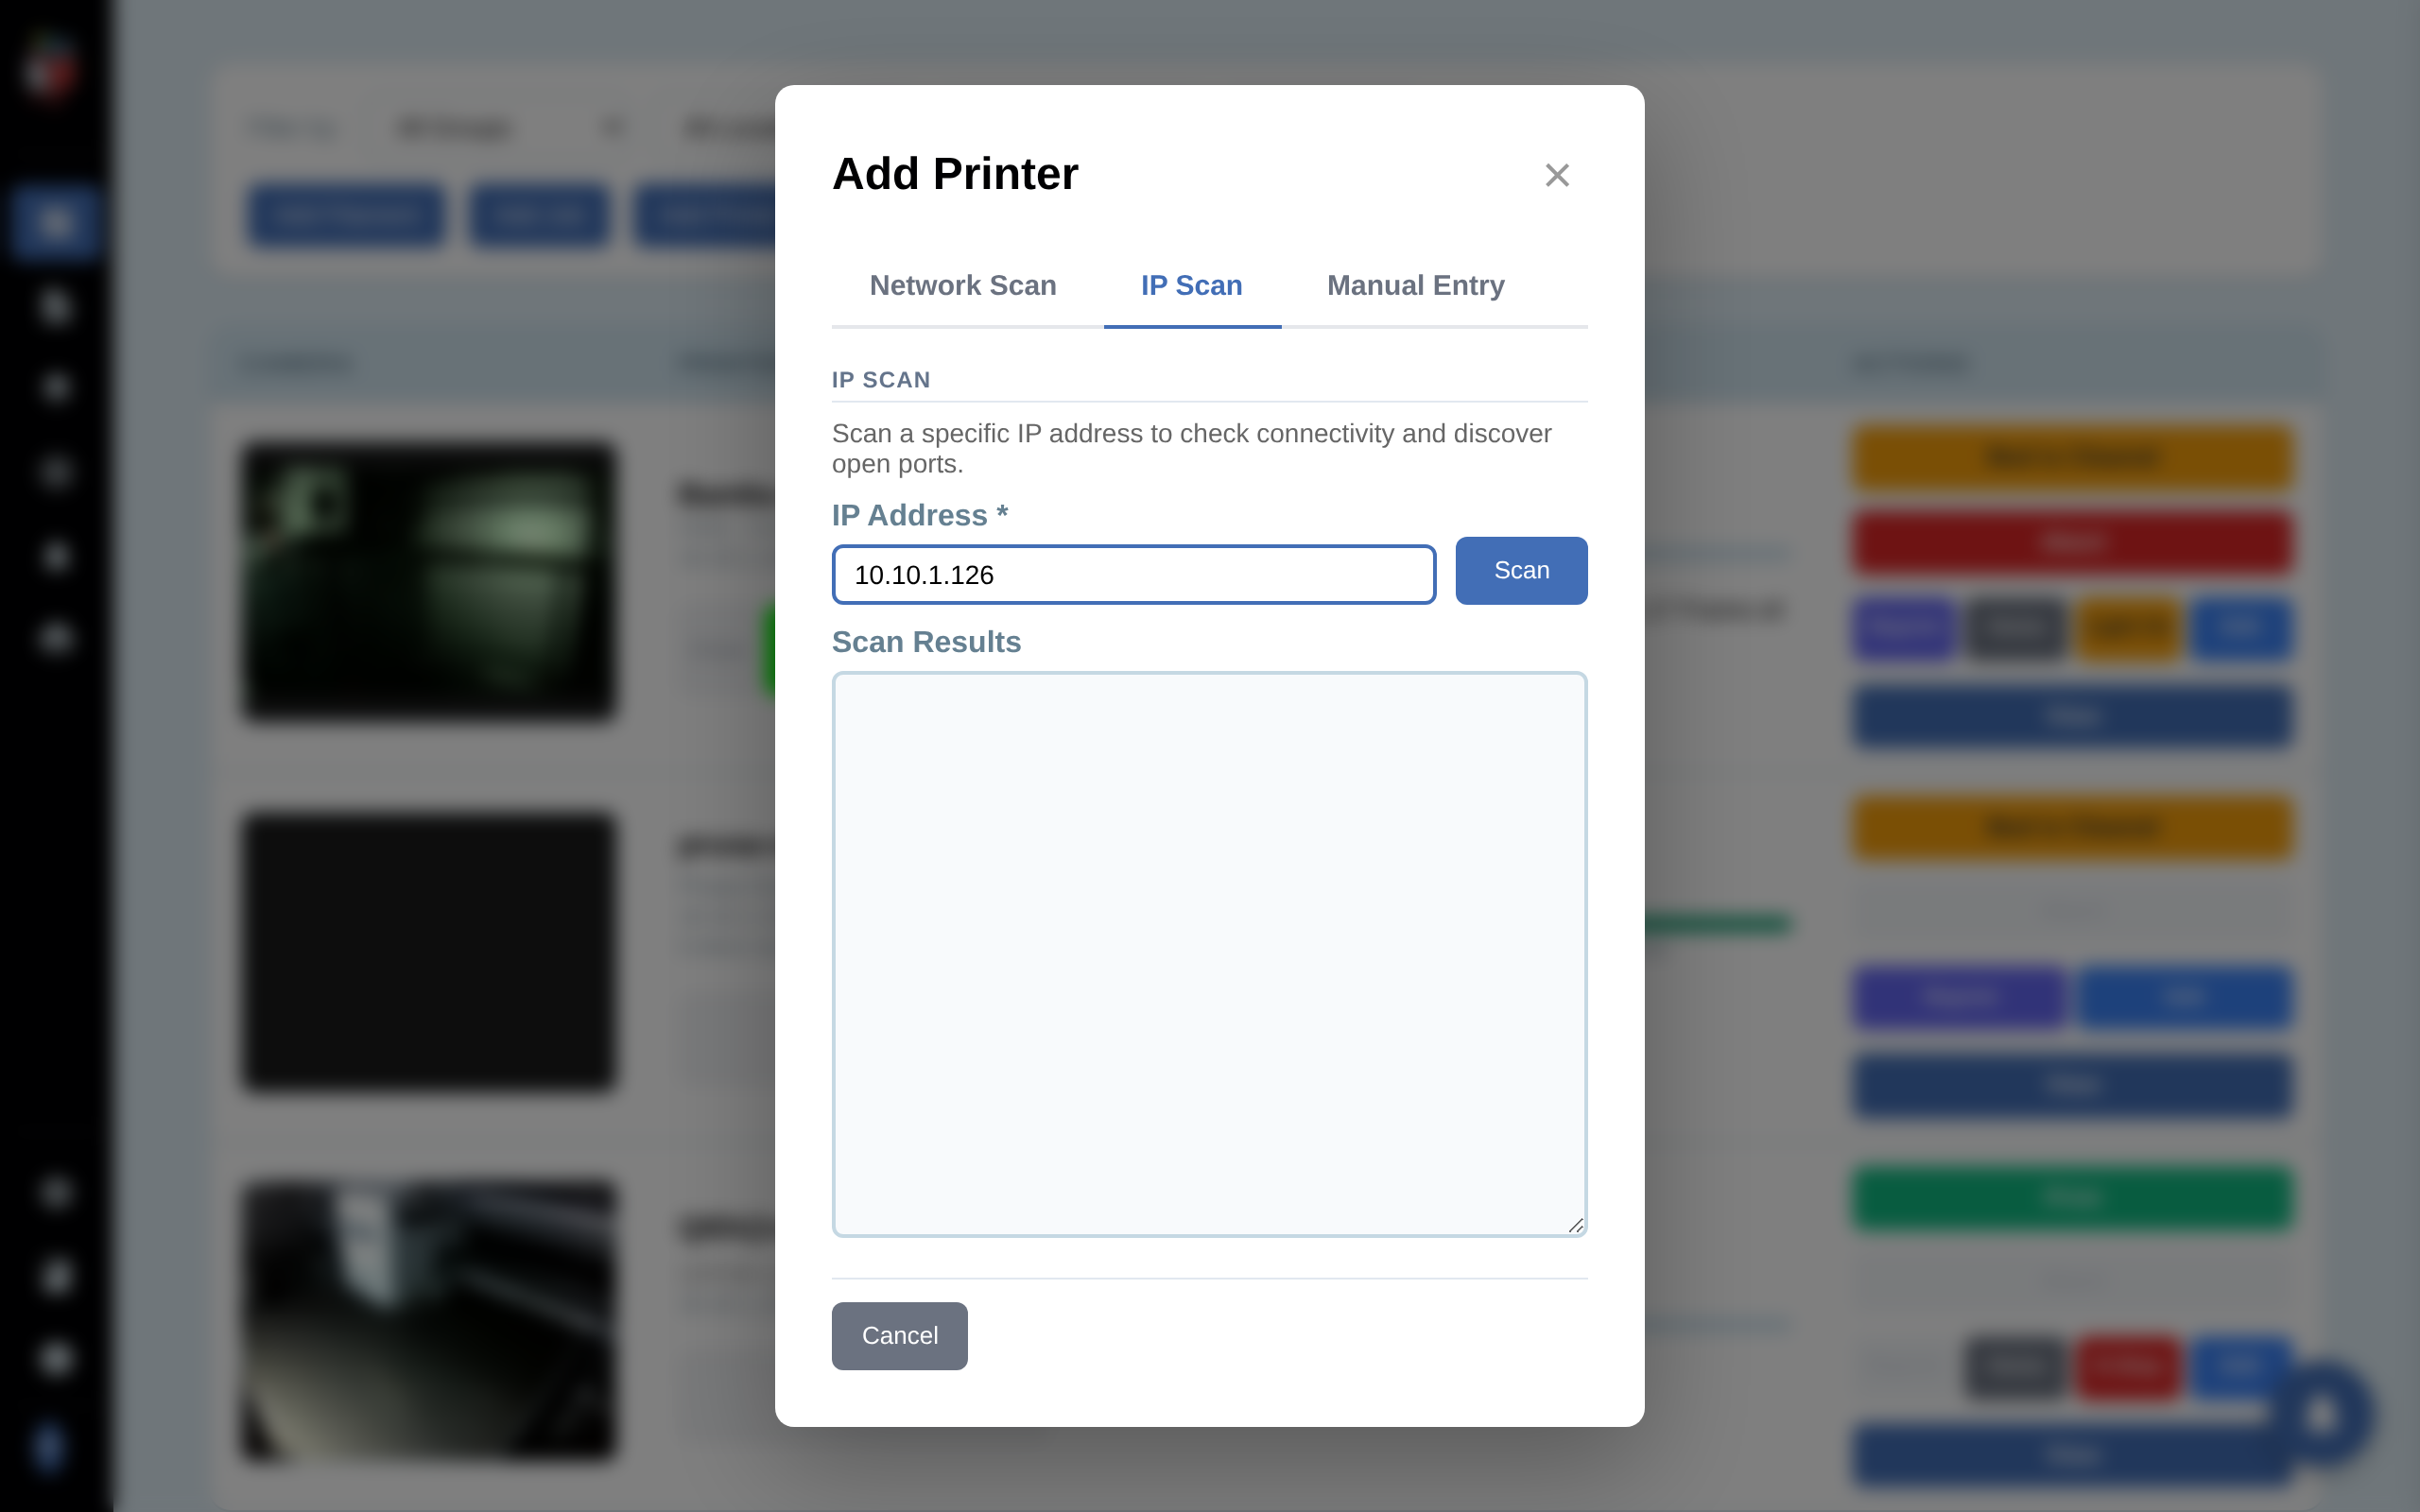
Type the printer's IP and click Load. PrinterMon probes the host on every known printer-control port and pre-fills Manufacturer, Model, Firmware Type, MAC Address, and the Ports list under Advanced. The credential field that appears below the main grid is firmware-dependent.
Step 3. Provide the credential and review fields
The credential field that appears below the main fields depends on the firmware you select:
- Bambu Lab. Shows Access Code. This is the 8-digit LAN code printed on the printer's display under Settings > Network > LAN Mode.
- PrusaLink (Prusa Buddy). Shows Password (the PrusaLink password set in the printer's web UI). A separate Camera IP field also appears for PrusaLink models that stream from a different device.
- OctoPrint. Shows API Key. Generate one in OctoPrint at Settings > API and paste it here.
- Klipper / Moonraker, Duet, FlashForge. No credential needed for read access on a trusted LAN.
If the wrong field appears or no field appears, change the Firmware Type dropdown — the credential field is driven by that selection.
Review the rest of the form:
- Custom Name. Set the display name for the dashboard.
- Group and Location. Optional tags for filtering.
- Nozzle Diameter. Defaults to 0.4 mm.
- Has AMS. Check for Bambu with an AMS attached.
Expand Advanced to override Web UI port, Webcam Path, Filament Slots (default 1), Maintenance Cycle hours, or to add/remove ports.
Step 4. Save
Optionally tick Ignored if you want the printer in the database but hidden from the dashboard. Click Add Printer. The dialog closes and the new printer appears as a row on the dashboard.
If Load fails
- Network error. Verify the IP is correct and the printer is powered on. Try pinging from the same machine PrinterMon runs on.
- Connection refused on every port. The printer's web/control interface is likely off. Enable it on the printer (e.g. Network > Web Interface).
- Probe succeeds but firmware is wrong. Some custom builds present unusual port signatures. Change the Firmware Type dropdown manually before saving.
- Probe shows correct firmware but auth fails after save. Re-check the credential. For Bambu, the Access Code is on the printer's LCD (Settings > Network > LAN Mode). For PrusaLink, the password was set when you first enabled it in the printer.